Installing drywall (also known as sheetrock or plasterboard) is a foundational skill in modern construction and DIY home renovation. While the process might seem straightforward, achieving a smooth, seamless finish requires more than just a hammer and nails. Having the right toolkit is essential for efficiency, precision, and safety.
Here is a breakdown of the must-have tools for every stage of the drywall process.
Here is a breakdown of the must-have tools for every stage of the drywall process.
1. Measuring and Layout Tools
Before any cutting begins, accurate measurements are critical to minimize waste and ensure panels align with wall studs.
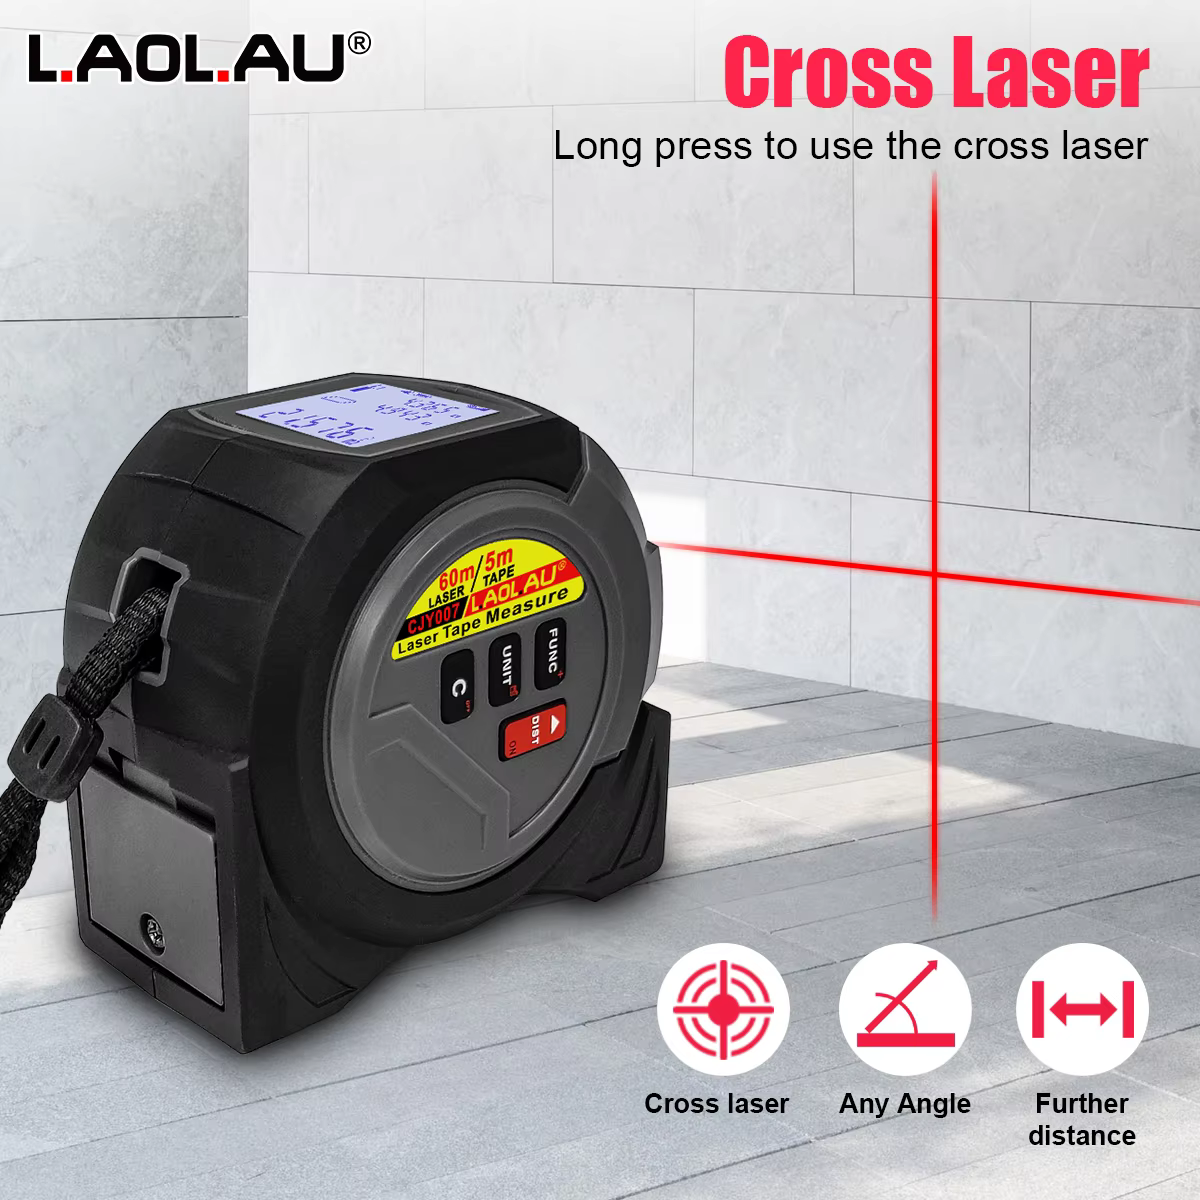
Tape Measure: A heavy-duty 25-foot tape measure is standard for measuring wall dimensions and ceiling heights.
Drywall T-Square: Unlike a standard square, a drywall T-square is 48 inches long, allowing you to mark and score an entire 4x8-foot sheet in one go.
Chalk Line: Useful for marking long, straight reference lines on floors or large wall sections.
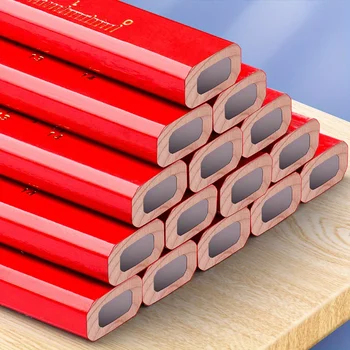
Carpenter's Pencil: Necessary for marking cut lines and stud locations.

2. Cutting and Shaping Tools
Drywall is primarily composed of a gypsum core sandwiched between paper. You need tools that can handle both straight edges and intricate cutouts.
Utility Knife: The most used tool for "score and snap" cutting. Use a knife with replaceable blades to ensure every cut is clean.
Jab Saw (Drywall Saw): A small, hand-held saw with a pointed tip and coarse teeth, ideal for cutting out openings for electrical outlets, light switches, and plumbing.
Drywall Rasp: Used to smooth out rough or uneven edges after a sheet has been cut, ensuring a tight fit between panels.


3. Hanging and Fastening Tools
Securing heavy sheets to a wooden or metal frame requires power and precision to avoid over-sinking screws.
Drywall Screw Gun or Drill: While a standard cordless drill works for small repairs, a dedicated drywall screw gun features a depth-sensitive "clutch" that stops the screw at the perfect depth every time.
Drywall Lift: For ceiling installations or solo projects, a lift holds the heavy sheets in place, preventing injury and ensuring alignment.
Drywall Hammer: Features a checkered head to slightly dimple the drywall surface without tearing the paper, which helps when hand-nailing.


4. Taping and Finishing Tools
This stage turns individual sheets into a seamless wall.
Joint Knives (Taping Knives): You typically need a set of three: a 6-inch knife for the initial "bedding" of tape, and 10-inch and 12-inch knives for "feathering" the joint compound to create a flat surface.
Mud Pan: A stainless steel or plastic tray used to hold joint compound while you work, allowing you to easily clean your knives.
Mixing Paddle: Attaches to a drill to quickly mix powdered joint compound into a smooth, lump-free consistency.


5. Sanding and Safety Gear
The final step involves smoothing the dried compound.
Sanding Pole and Sponges: A pole sander allows you to reach high spots from the ground, while sanding sponges are better for corners and detail work.
Dust Mask or Respirator: Sanding drywall creates fine silica dust that is hazardous if inhaled. Always wear high-quality lung protection.
Safety Goggles: Protects your eyes from falling debris, especially during ceiling work.